Understanding Thermal Imaging for Home Energy Efficiency
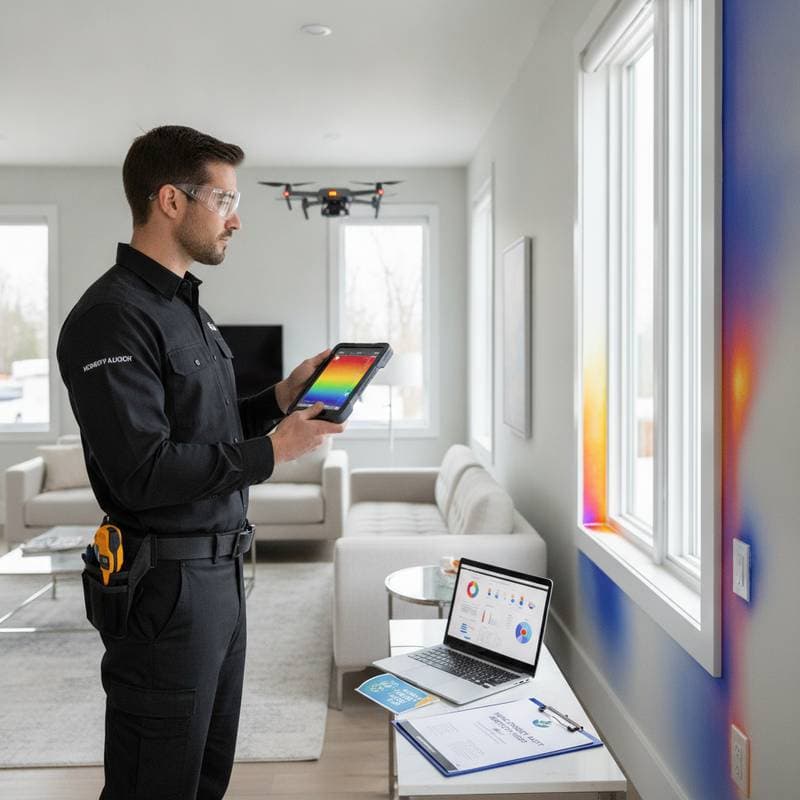
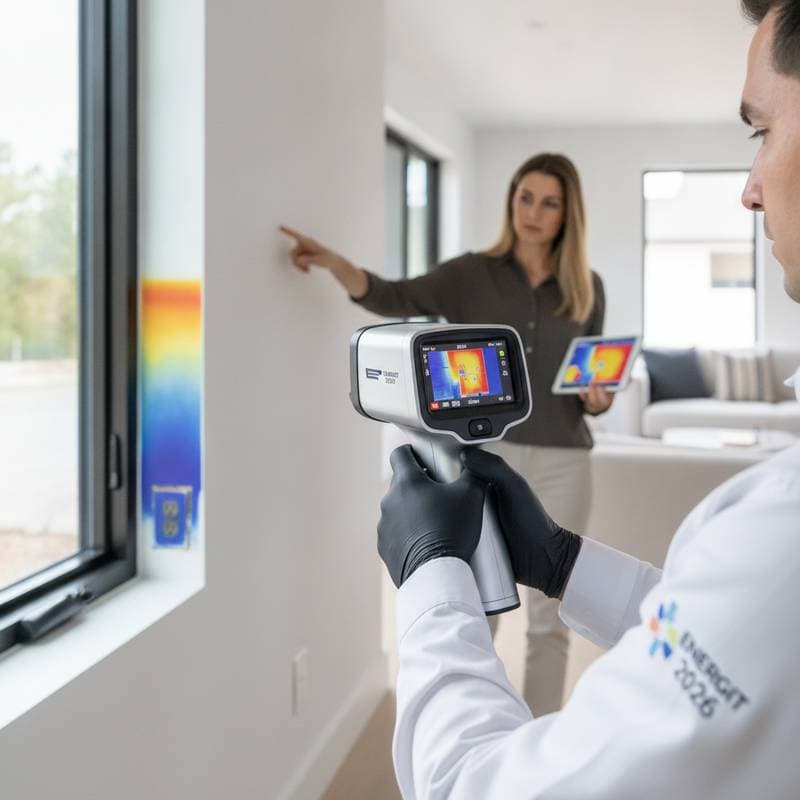
Thermal imaging serves as a powerful tool for homeowners seeking to identify energy waste. This technology captures infrared radiation to visualize temperature variations, highlighting areas where heat escapes or cold air enters. By revealing these invisible issues, thermal cameras enable precise interventions that enhance comfort and lower utility costs.
Traditional inspections often overlook subtle leaks in walls, roofs, or foundations. Infrared scans provide a visual map of thermal boundaries, making it simple to spot problems like drafts around outlets or gaps in attic insulation. Homeowners who adopt this approach report noticeable improvements in even heating distribution.
The Impact of Energy Leaks on Costs and Comfort
Energy leaks force heating systems to operate longer, which elevates bills and accelerates equipment wear. A home with poor thermal performance may lose 20 to 30 percent of conditioned air through unsealed cracks and inadequate insulation. This inefficiency not only strains finances but also leads to uneven temperatures that affect daily living.
From an environmental standpoint, such waste contributes to higher carbon emissions from increased fuel use. Addressing these issues through thermal analysis supports sustainable living by reducing reliance on non-renewable energy sources. Studies indicate that targeted fixes can yield returns within three to five years via substantial savings.
Preparing for a Thermal Inspection
Effective thermal imaging requires careful preparation to ensure reliable results. Schedule scans during periods of significant temperature difference between indoors and outdoors, such as winter nights, to maximize contrast. Select certified professionals, like those accredited by building performance institutes, who possess expertise in interpreting infrared data.
Before the inspection, seal off unnecessary openings, deactivate exhaust fans, and maintain steady indoor temperatures for at least two hours. Pair the thermal scan with a blower door test, which creates pressure differentials to amplify leak visibility. These steps combine to deliver a comprehensive assessment of your home's envelope.
Professional services range from 300 to 700 dollars, varying by home size and location. The initial cost proves worthwhile when considering long-term reductions in energy consumption and maintenance needs.
Analyzing Costs and Return on Investment
Consider a typical household with annual heating and cooling expenses of 2,000 dollars. A 15 percent efficiency gain from thermal-guided repairs translates to 300 dollars in yearly savings, accumulating to 3,000 dollars over a decade. Larger or older homes often achieve 25 to 30 percent reductions, accelerating financial recovery.
Breakdown of common investments includes:
- Basic thermal scan: 200 to 400 dollars for a targeted handheld assessment.
- Complete energy audit: 400 to 800 dollars, incorporating infrared images, pressure testing, and detailed reports.
- Full retrofit projects: 2,000 to 10,000 dollars for insulation, sealing, or window enhancements.
Beyond savings, efficiency upgrades boost property value. Buyers prioritize homes with verified low utility demands and consistent comfort levels.
Identifying Common Thermal Weak Points
Thermal scans frequently expose surprising vulnerabilities in everyday structures. Recessed ceiling lights often serve as conduits for attic heat loss, while outlets on exterior walls permit drafts. Floor joists and rim boards may harbor gaps that undermine foundation insulation.
Attic access panels and chimney penetrations represent additional risks if not properly sealed. Addressing these involves straightforward measures, such as installing foam gaskets around lights or applying caulk to joints. For extensive issues, consider rigid foam boards or blown-in cellulose to fortify barriers.
In renovation scenarios, conduct scans post-installation to confirm that new materials perform as intended. This verification prevents future inefficiencies and avoids expensive corrections after finishing work.
Integrating Thermal Insights into Sustainable Upgrades
Thermal imaging aligns with efforts to build resilient, eco-friendly homes. It guides insulation enhancements in attics, walls, and crawl spaces, potentially curbing 40 percent of heat loss. Upgrading to energy-efficient windows with low-emissivity coatings minimizes conductive losses.
Air sealing emerges as a priority, targeting door frames, electrical boxes, and pipe entries with durable sealants. Infrared tools also detect moisture anomalies, such as wet insulation that compromises thermal resistance and fosters mold.
These interventions stabilize indoor climates, reduce HVAC demands, and promote better air quality. The cumulative effect yields a home that maintains comfort year-round with minimal energy input.
Expert Guidance and DIY Options
Professionals liken thermal imaging to a non-destructive diagnostic for buildings. Accurate analysis distinguishes true leaks from benign heat sources, like active vents or solar gain. Engage specialists for intricate setups, such as multi-story homes or additions.
For hands-on exploration, affordable options include smartphone thermal attachments starting at 200 dollars or standalone cameras under 500 dollars. These devices suit initial surveys of visible areas, though they lack the resolution of pro-grade equipment. Use findings to inform professional follow-ups rather than sole decision-making.
Recommended actions encompass:
- Rank repairs by potential impact on comfort and expenses.
- Perform follow-up scans to measure upgrade effectiveness.
- Document all data for ongoing monitoring and marketability.
Frequently Asked Questions
How frequently should thermal scans occur? Experts advise intervals of five to seven years, or immediately following significant modifications like additions or re-roofing. Settling foundations and material degradation can gradually erode efficiency.
Is renting a thermal camera feasible? Yes, home improvement centers offer rentals at 50 to 100 dollars per day. Review user manuals thoroughly and practice on known warm objects to build confidence in readings.
What distinguishes professional scans from DIY efforts? Professionals employ calibrated tools and integrate multiple tests for holistic insights. DIY methods excel for quick checks but may overlook subtle patterns.
Steps to Achieve Energy Efficiency Gains
Begin by assessing your home's current performance through a basic thermal check. Implement high-priority seals and insulations based on scan results to realize immediate benefits. Monitor progress with periodic reviews to sustain improvements over time.
These efforts not only trim costs but also elevate living standards. A thermally optimized home delivers reliable warmth, fresher air, and peace of mind regarding environmental impact.