Key Points
- Thermal imaging scans uncover hidden heat loss that drains energy and money.
- Identifying insulation gaps, duct leaks, and window inefficiencies early can reduce heating bills by up to 25 percent.
- Professional energy audits using infrared cameras provide detailed insights to guide upgrades and rebates.
- Homeowners can combine scans with simple sealing improvements for immediate savings.
How Thermal Scans Expose Hidden Energy Waste
You walk into your living room on a cool evening and feel a chill even though the thermostat reads steady. The real issue often stems from invisible heat loss through poorly insulated walls, leaky ducts, or an aging roof. Thermal scans visualize temperature differences in real time and show patterns the naked eye misses.
In regions where heating costs dominate budgets, one scan frequently uncovers weaknesses that deliver lasting comfort and savings once addressed.
Why Hidden Heat Losses Drive Up Costs
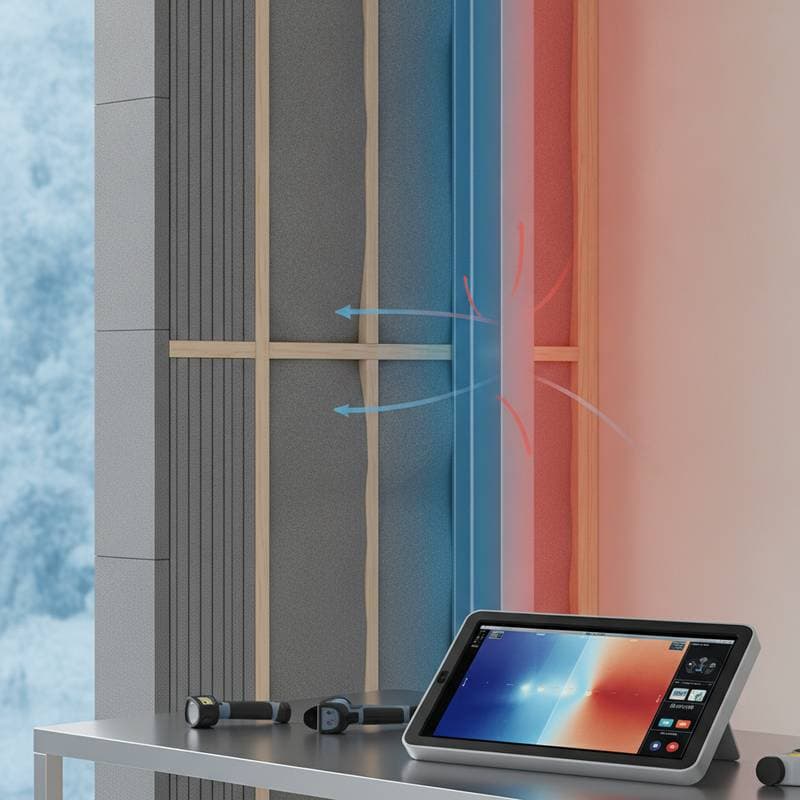
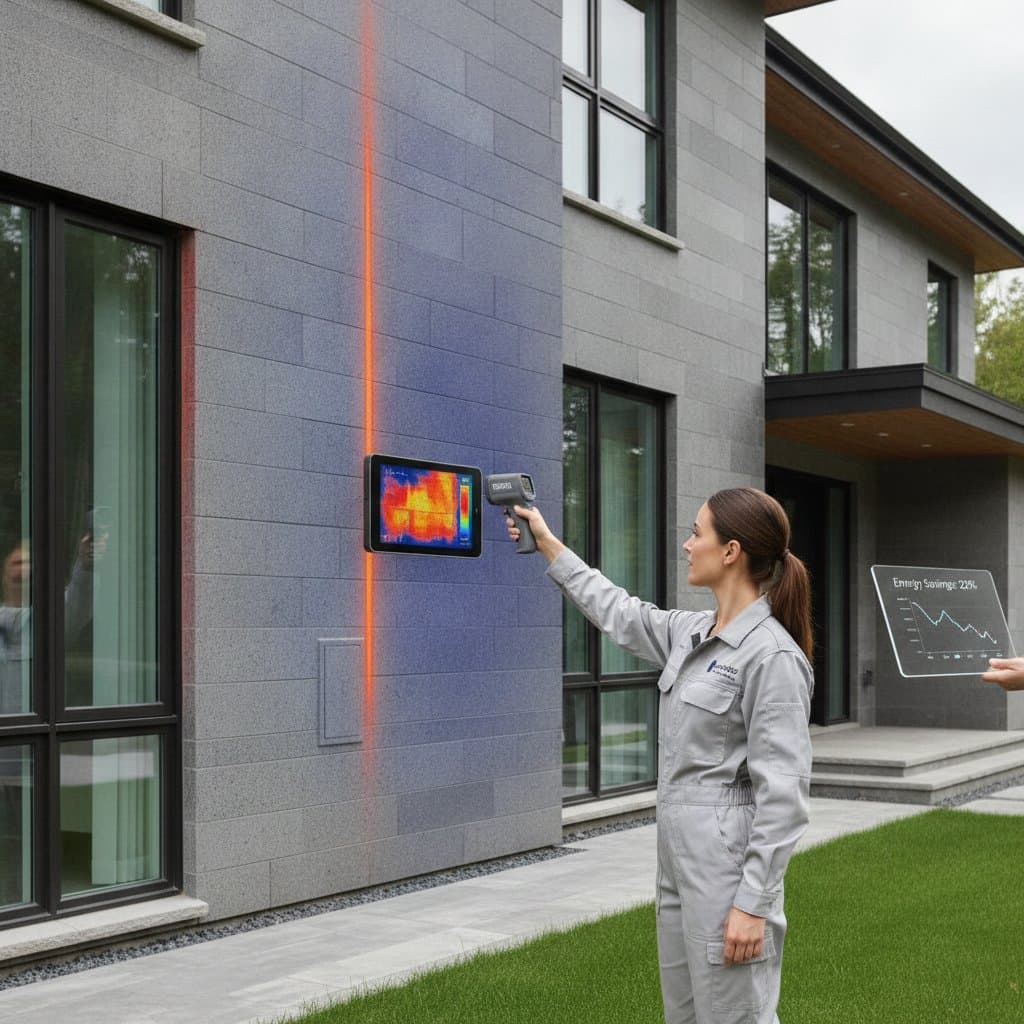
Heat moves from warm areas to cooler ones and escapes through gaps in insulation, window seals, and structural cracks. In older homes these small leaks accumulate into hundreds of dollars in wasted energy each season. Thermal imaging identifies the exact zones responsible.
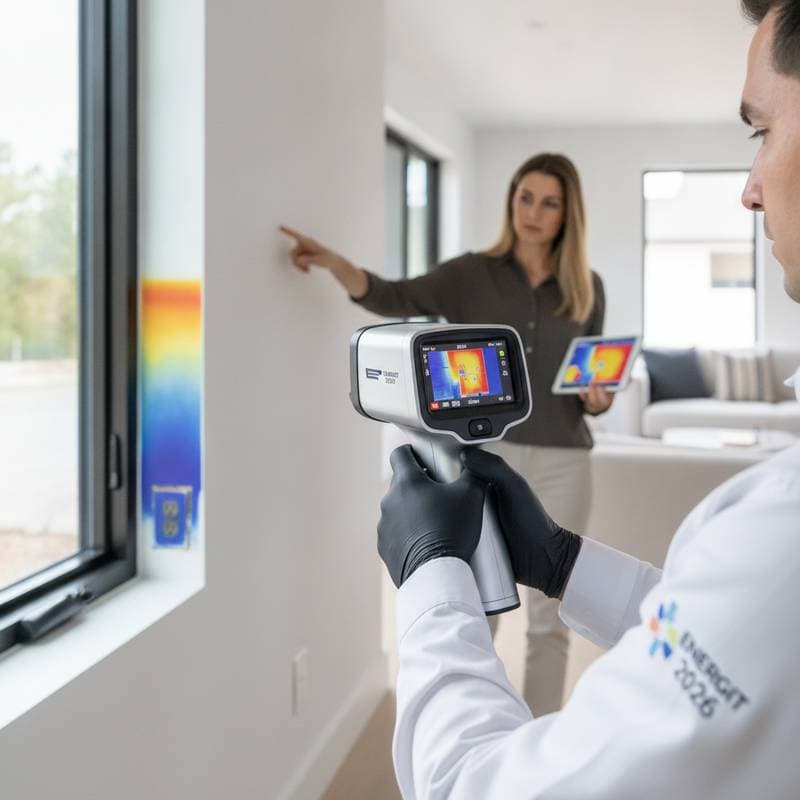
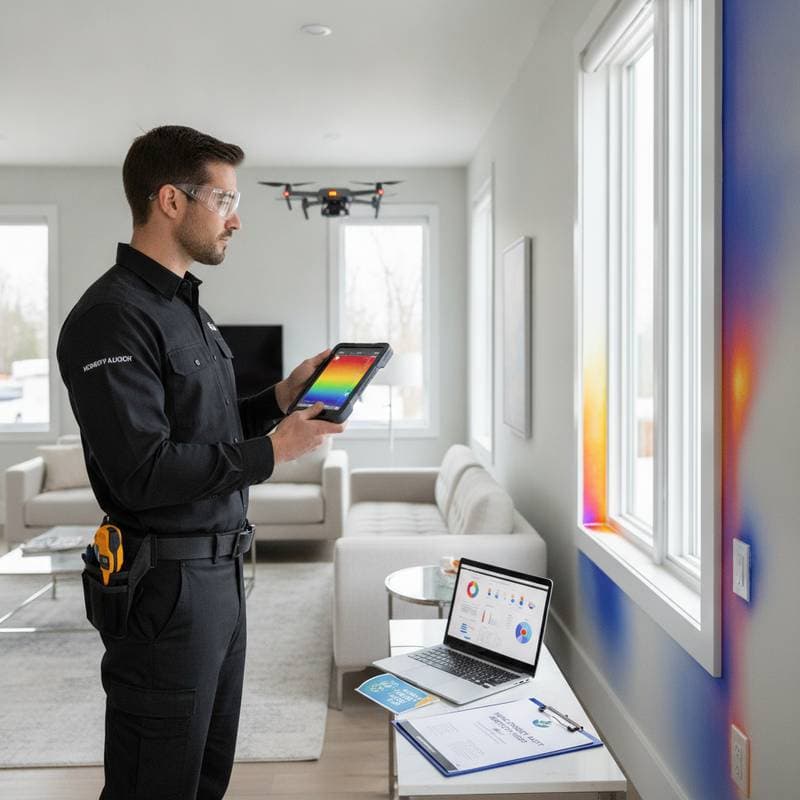
When paired with a professional energy audit the scan shows how the home performs under actual conditions. Blue and green areas on the image indicate cooler surfaces while yellow or red spots mark escaping heat. Roughly eight out of ten homes lose energy around windows or attic access points.
What a Professional Thermal Scan Includes
A thermal scan forms part of a structured energy audit rather than a standalone gadget session. The auditor examines walls, ceilings, floors, windows, doors, and outlets to capture how heat moves through the structure. Pairing the camera with a blower door test highlights air leaks under depressurized conditions.
The scan also detects damp insulation or hidden moisture behind drywall. The auditor then compiles findings into a report that includes images, explanations, and cost benefit projections for each recommended improvement.
Practical Steps After the Scan
Once results arrive, begin with low cost sealing measures. Apply weatherstripping to doors and windows, caulk small cracks, and install foam gaskets behind outlets. These steps alone can reduce air infiltration by 10 to 15 percent.
Next evaluate attic and wall insulation levels. Add cellulose or spray foam where the R value falls below regional standards. Seal duct joints with mastic and insulate exposed sections in unheated spaces to prevent up to 30 percent conditioned air loss.
For windows apply thermal film or interior storm panels if full replacement is not feasible. Schedule repeat audits every few years to verify prior work and catch new issues as materials age.
Cost, Timing, and Impact
A professional thermal imaging audit costs between 300 and 700 dollars depending on home size and location. Recommended repairs often cut energy use by 20 to 30 percent and recover the investment within one or two seasons. Perform the scan when indoor and outdoor temperatures differ noticeably for clearest results.
Reducing heat loss lowers carbon emissions from heating fuels and power plants. Even modest efficiency gains support broader community sustainability goals when adopted across neighborhoods.
Common Pitfalls to Avoid
DIY thermal cameras supply basic visuals yet require training for accurate interpretation. Misreading images can lead to unnecessary expenses. Maintain adequate attic ventilation after sealing to prevent moisture buildup. Address uninsulated basements and slab edges because they represent major energy drains. Treat energy performance as an interconnected system rather than isolated fixes.
Turning Results Into Lasting Savings
Prioritize improvements by cost and impact after reviewing the audit report. Start with sealing and insulation before moving to mechanical upgrades or window replacements. Document every change with before and after photos and utility bill comparisons to track performance and support future resale value.
Sustainable upgrades stabilize indoor humidity and temperature, reduce drafts, and limit mold risk. The result is a healthier living environment alongside lower bills.